Creating a volume in VESSL Storage
Volume is the basic storage unit in VESSL. There are two ways to create a volume, each optimized for different machine learning workflow scenarios.In YAML, a volume in VESSL Storage is specified as
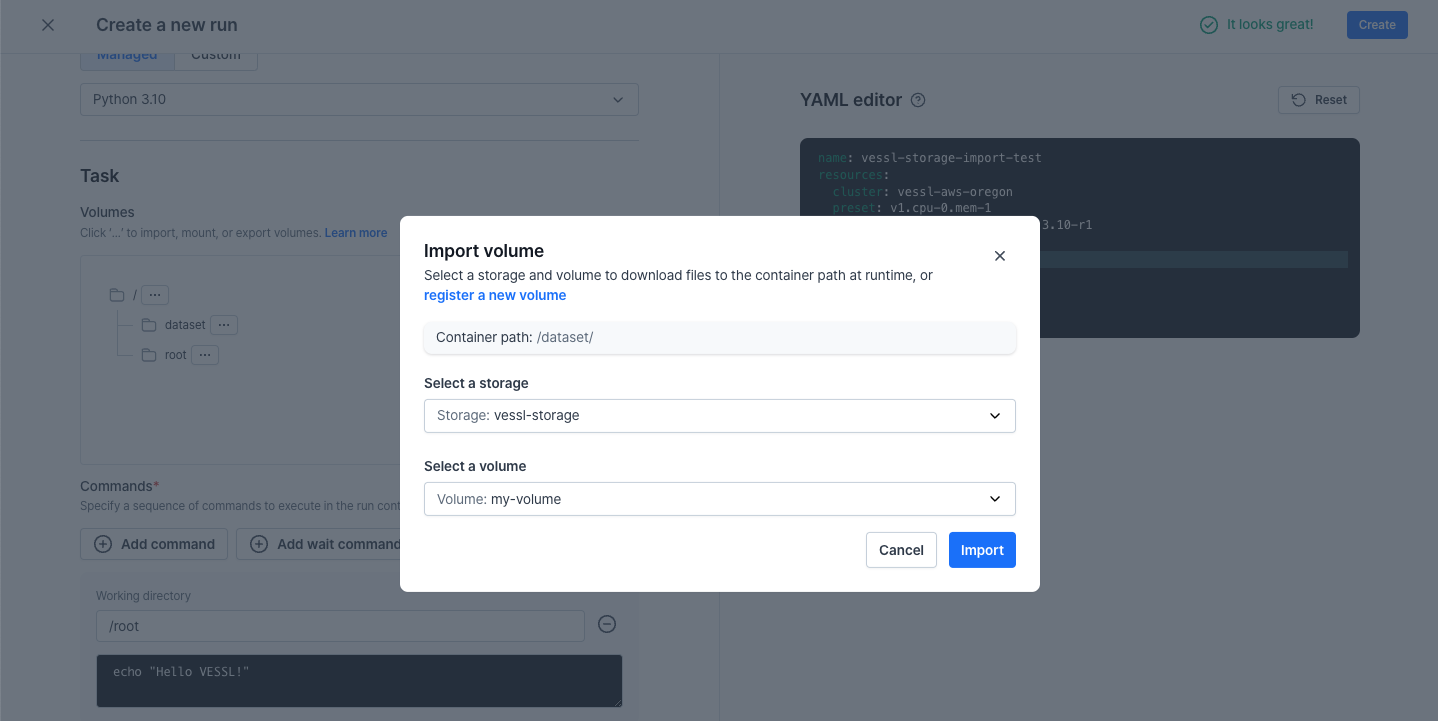
volume://vessl-storage/{volume-name}. 1. User-generated volume
Users can create volumes to upload datasets or models that will be used in workloads.Create a new volume
Navigate to Storage > VESSL Storage and click the 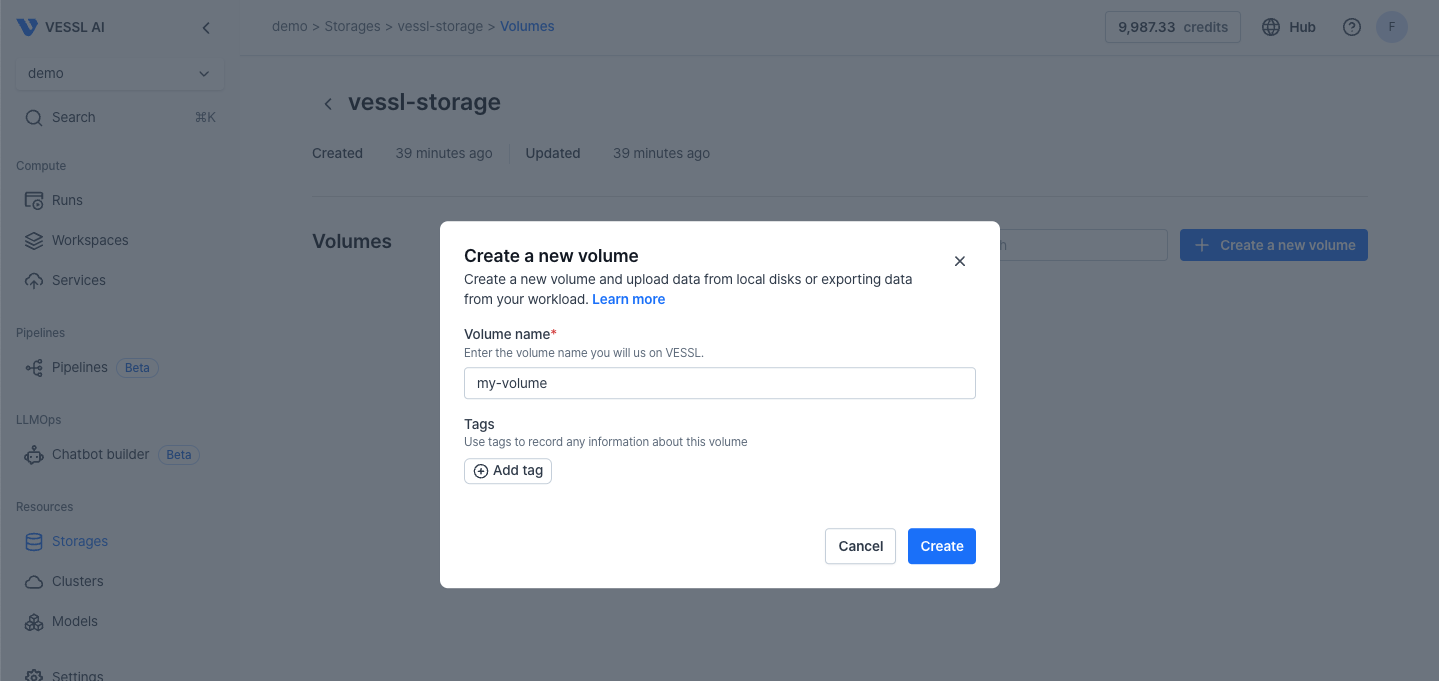
+ Create a new volume button. Specify the volume name and click the Create button.
Upload files to the volume
Click the 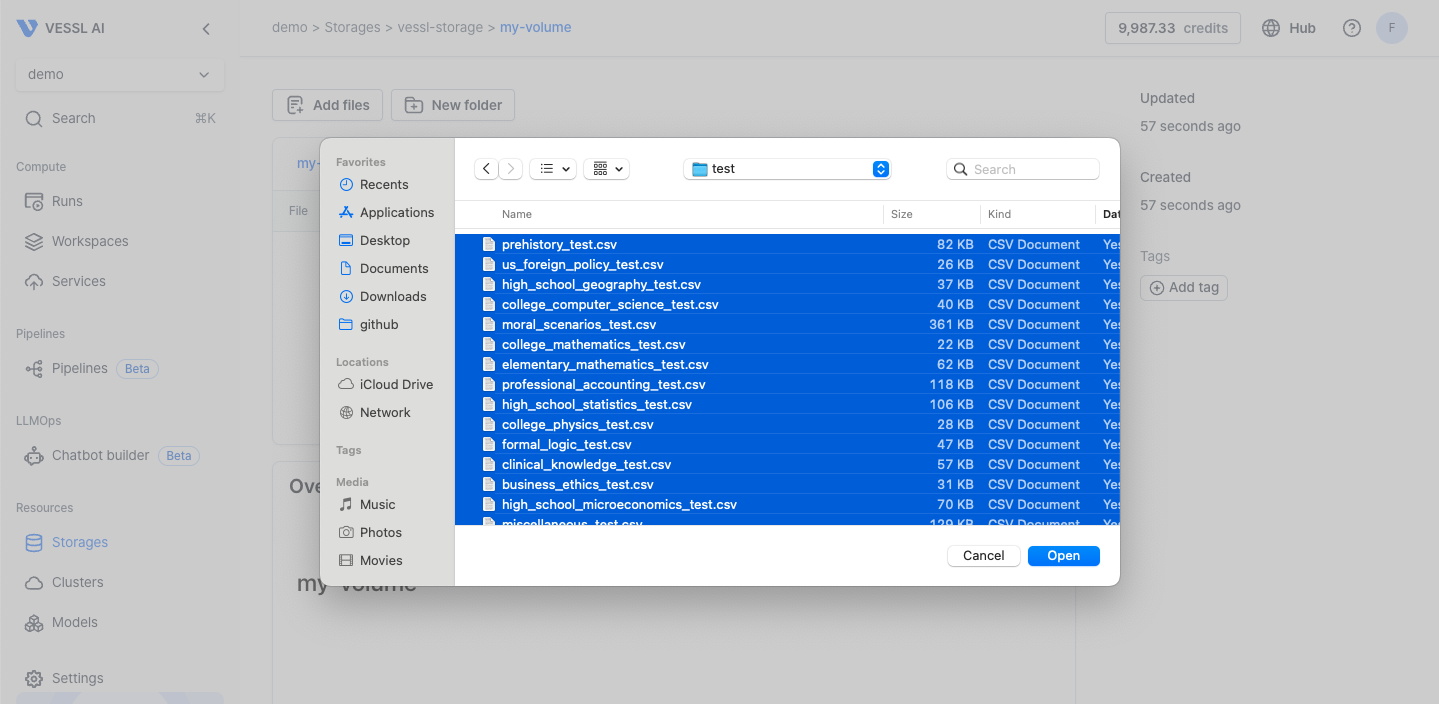
Add files button in the volume and select the files in your local machine to upload.
2. Workload-generated volume
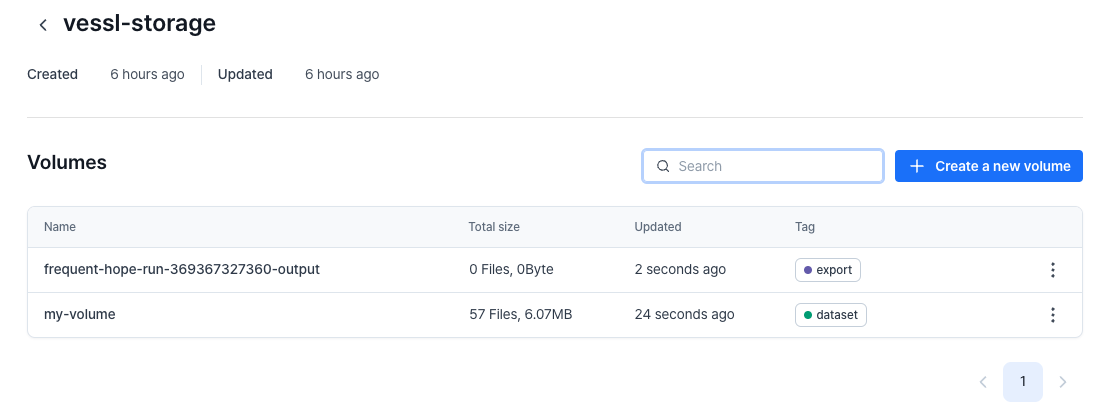
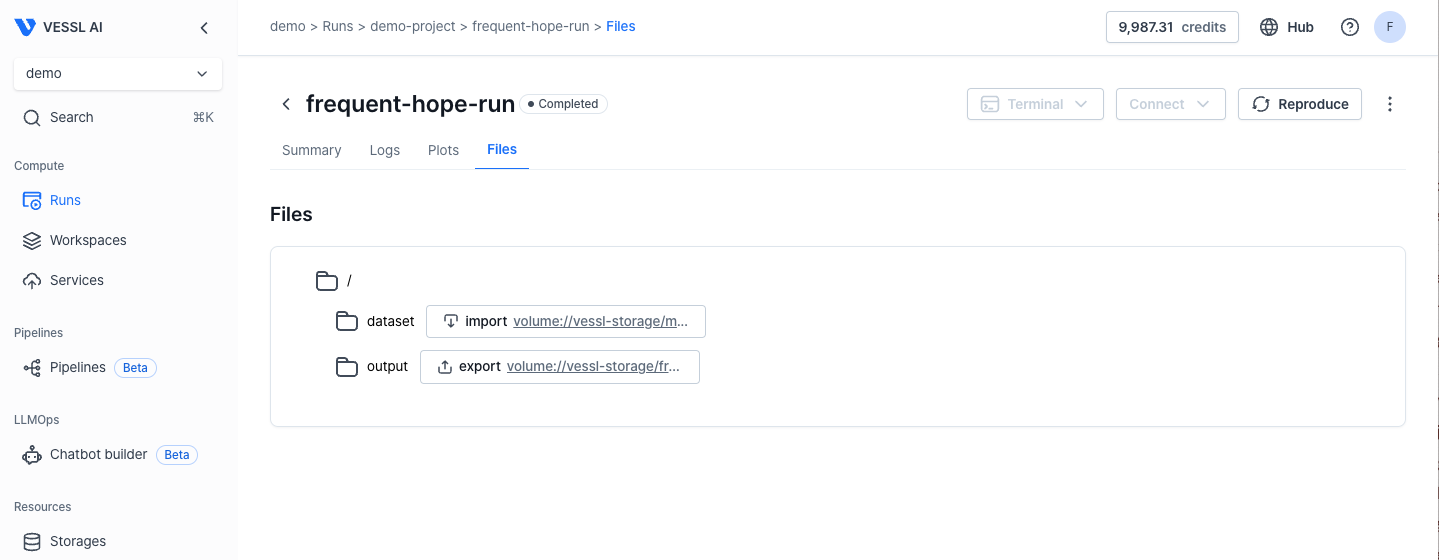
Volumes can also be created by a workload when exporting logs, checkpoints, and metrics to VESSL Storage. The volume name is automatically generated in this case.Export a workload volume to storage
To export your workload’s data to VESSL Storage, create a new directory (e.g., 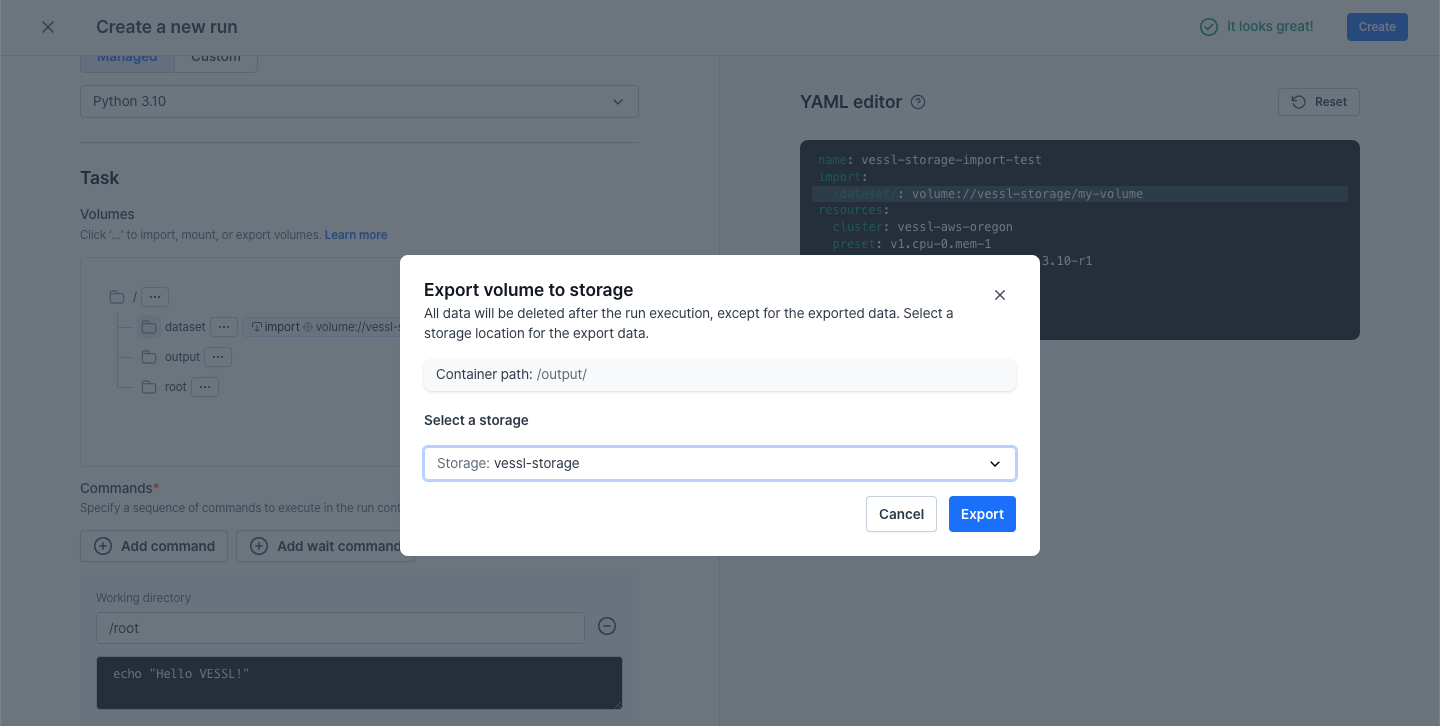
/output), and export to VESSL Storage as follows.
Tagging & Search
Whether your volume is user-generated or workload-generated, tagging allows for quick search and retrieval of data.