> ## Documentation Index
> Fetch the complete documentation index at: https://docs.vessl.ai/llms.txt
> Use this file to discover all available pages before exploring further.
# Create & manage pipeline triggers
Every pipeline execution starts with a **trigger**. Not only can you manually trigger a pipeline execution, but you can also set up triggers to automatically start a pipeline execution when certain conditions are met.
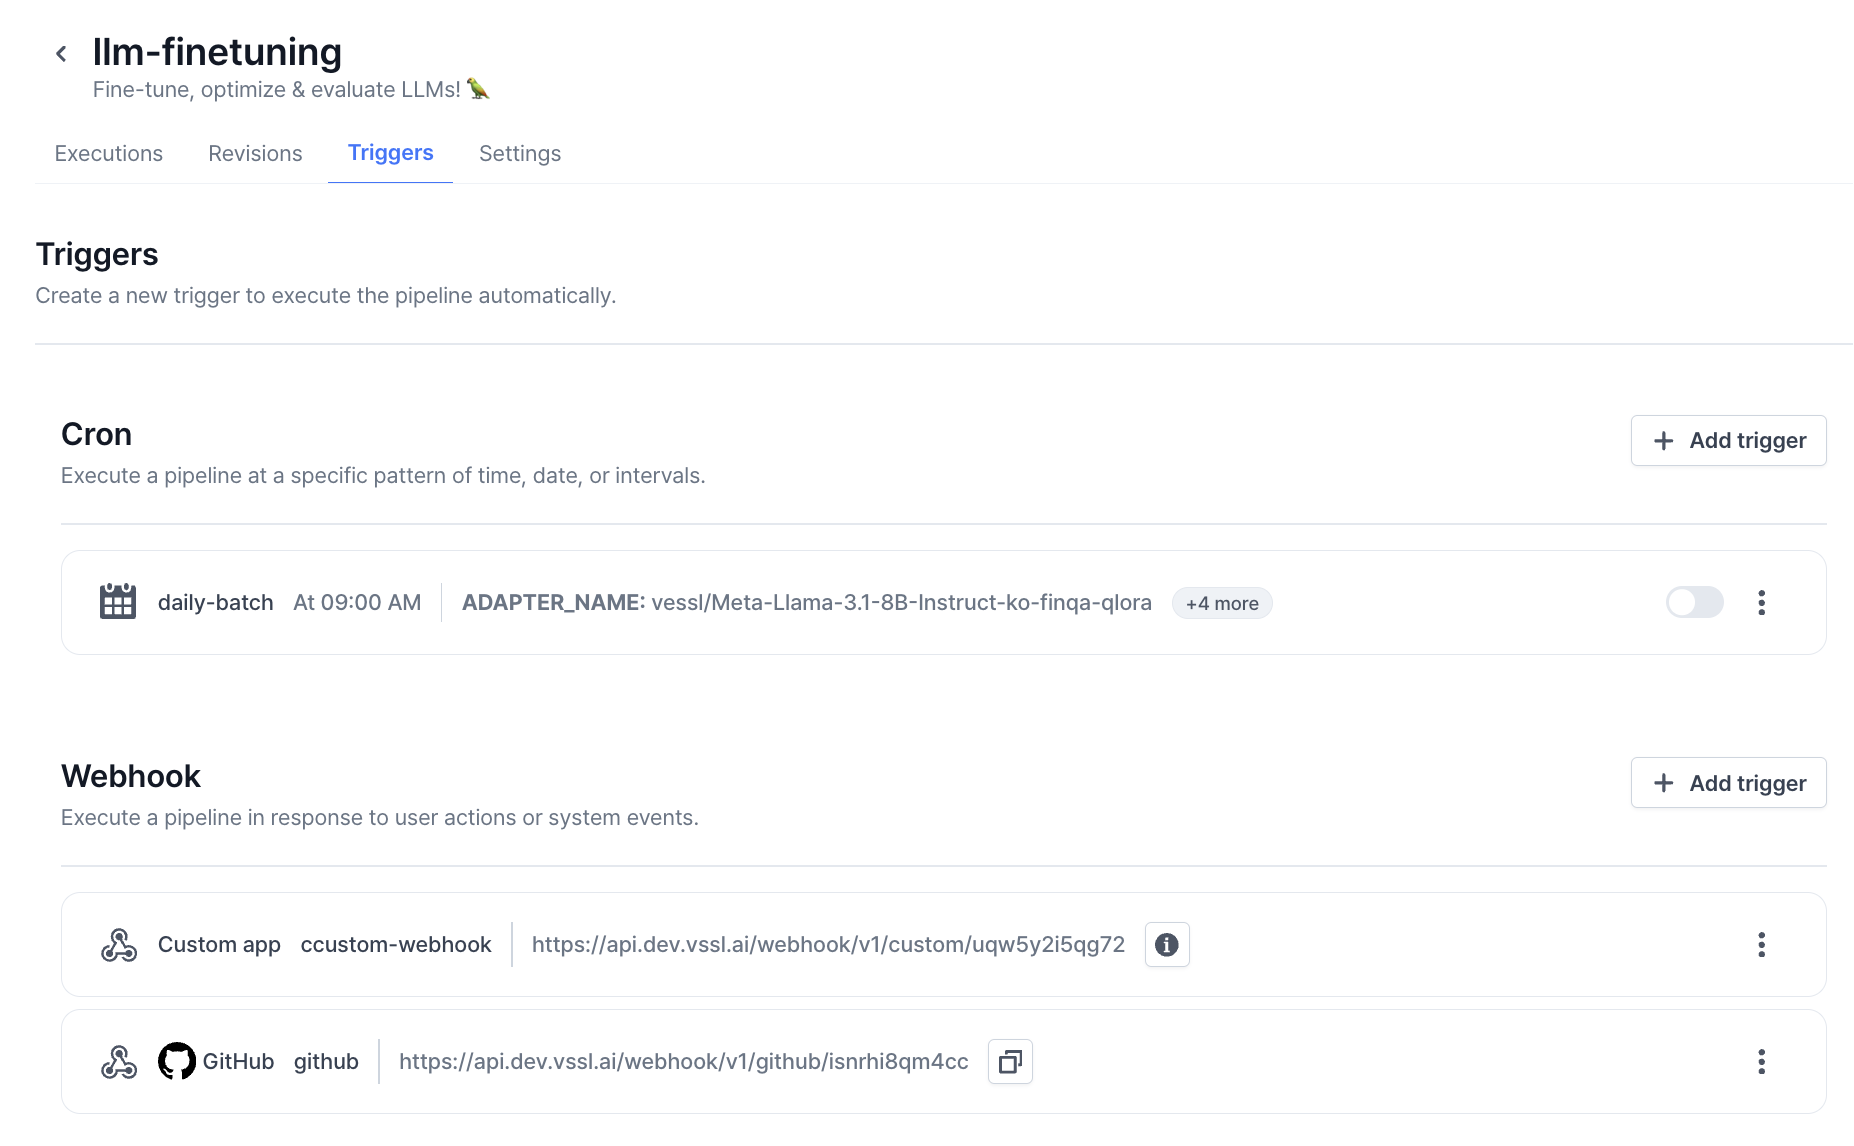 VESSL Pipeline supports the two types of automatic triggers:
* **Cron**: Trigger the pipeline execution at a specific time or interval.
* **Webhook**: Trigger the pipeline execution when a specific HTTP request is received.
## Cron trigger
To create a **cron trigger**, click the `Add trigger` button at the `Cron` section on the pipeline `Triggers` tab.
VESSL Pipeline supports the two types of automatic triggers:
* **Cron**: Trigger the pipeline execution at a specific time or interval.
* **Webhook**: Trigger the pipeline execution when a specific HTTP request is received.
## Cron trigger
To create a **cron trigger**, click the `Add trigger` button at the `Cron` section on the pipeline `Triggers` tab.
Cron trigger allows you to define schedule of execution with human-readable expression or cron expression. Below are the details of the cron trigger configuration:
* **Name**: Name of the trigger.
* **Description**: Description of the trigger.
* **Schedule**: Schedule of the trigger. You can choose any human-readable interval from the dropdown or input cron expression directly.
* **Input variables**: Variables to be injected when the pipeline execution is triggered. Variable definitions always follow the latest published revision of the pipeline.
## Webhook trigger
To create a **webhook trigger**, click the `Add trigger` button at the `Webhook` section on the pipeline triggers tab.
**Webhook trigger** enables you to trigger the pipeline execution by sending an HTTP request to the specified webhook URL. It's commonly used to trigger pipeline execution from external services like GitHub Actions or GitLab CI/CD.
Below are the details of the webhook trigger configuration:
* **Target**: Target service to register the webhook; Either `GitHub`, `GitLab`, `Bitbucket` or `Custom App`.
* **Name**: Name of the trigger.
* **Description**: Description of the trigger.
* **Input variables**: Variables to be injected when the pipeline execution is triggered. Variable definitions always follow the latest published revision of the pipeline.
Once you create a webhook trigger, you will get a **unique webhook URL**. You can use this URL to trigger the pipeline execution by registering the URL as a webhook in the external service(GitHub, GitLab, etc.) or by sending an **HTTP POST request** to the URL.
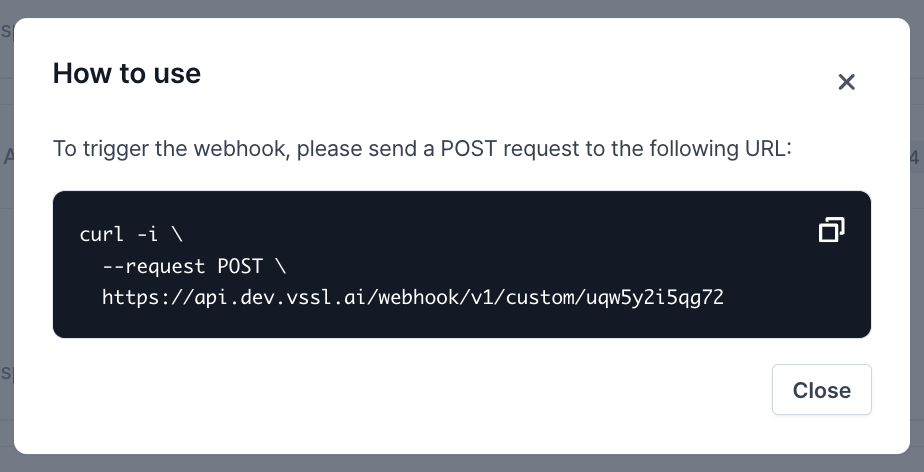
If your webhook target is `Custom App`, you can see the instructions to trigger the pipeline execution in the info text of registered webhook: