> ## Documentation Index
> Fetch the complete documentation index at: https://docs.vessl.ai/llms.txt
> Use this file to discover all available pages before exploring further.
# Quickstart
> Launch a barebone GPU-accelerated workload
This quickstart deploys a barebone GPU-accelerated workload, a Python container that prints the result of `nvidia-smi`. It illustrates the basic components of a single run and how you can deploy one.
## What you will do
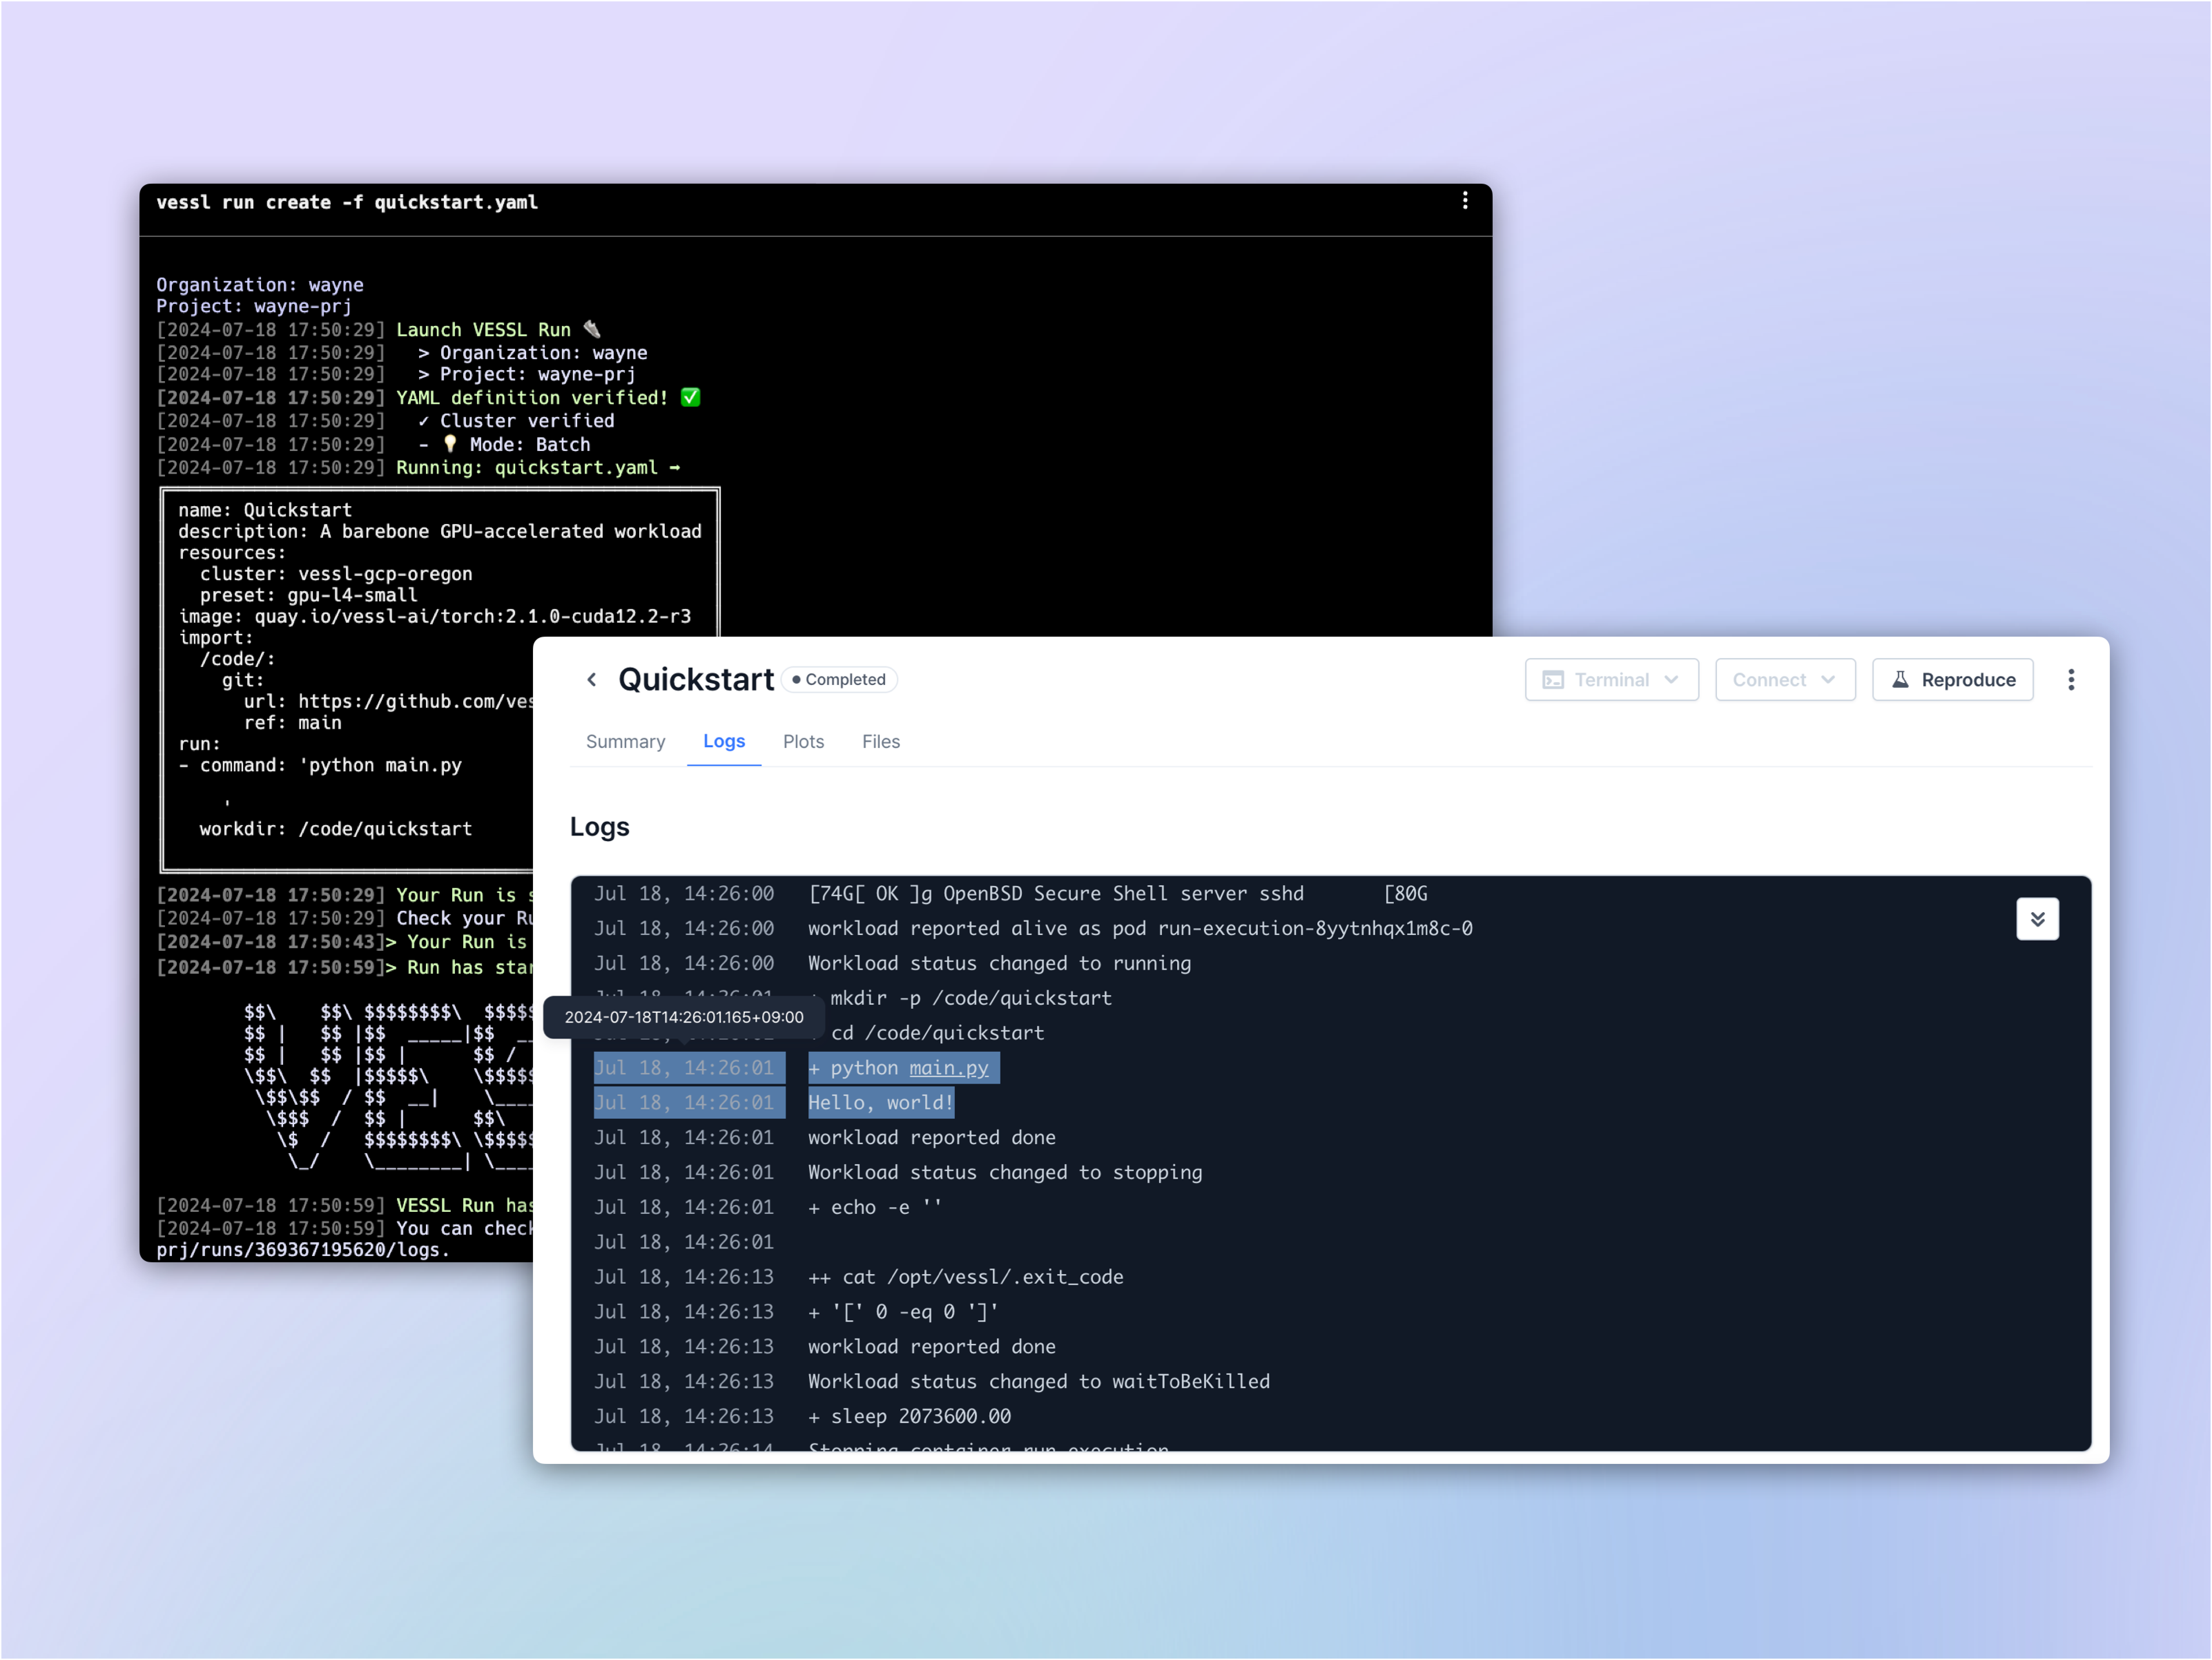 * Launch a GPU-accelerated workload
* Set up a runtime for your model
* Run a simple command: `nvidia-smi`
## Installation and setup
After creating a free account on [VESSL](https://app.vessl.ai), install our Python package and get an API authentication. Set your primary **Organization** and **Project** for your account and let's get going.
```bash theme={null}
pip install --upgrade vessl
vessl configure
```
If you encounter the error `ModuleNotFoundError: No module named 'packaging'`,
please run the command `pip install packaging`.
## Writing the YAML file
Launching a workload on VESSL begins with writing a YAML file. Our quickstart YAML is in four parts:
* Compute resource -- typically in terms of GPUs -- this is defined under `resources`
* Runtime environment that points to a Docker Image -- this is defined under `image`
* Run commands executed inside the workload as defined under `run`
Let's start by creating `quickstart.yaml` and define the key-value pairs one by one.
`resources` defines the hardware specs you will use for your run. Here's an
example that uses our managed cloud to launch an A10 instance. You can see
the full list of compute options and their string values for `preset` under
**Resources**. Later, you will be able to add and launch workloads on your
private cloud or on-premises clusters simply by changing the value for
`cluster`.
```yaml theme={null}
resources:
cluster: vessl-oci-sanjose
preset: gpu-a10-small
```
VESSL uses Docker images to define a runtime. We provide a set of base
images as a starting point but you can also bring your own custom Docker
images by referencing hosted images on **Docker Hub** or **Red Hat Quay**. You
can find the full list of images and the dependencies for the latest build
[here](https://quay.io/repository/vessl-ai/kernels?tab=tags\&tag=py39-202310120824).
Here, we'll use the latest go-to PyTorch container from **NVIDIA NGC**.
```yaml theme={null}
resources:
cluster: vessl-oci-sanjose
preset: gpu-a10-small
image: quay.io/vessl-ai/torch:2.3.1-cuda12.1
```
Now that we defined the specifications of the compute resource and the
runtime environment for our workload, let's run `nvidia-smi`. We can do this
by defining a pair of `workdir` and `command` under `run`.
```yaml theme={null}
resources:
cluster: vessl-oci-sanjose
preset: gpu-a10-small
image: quay.io/vessl-ai/torch:2.3.1-cuda12.1
run:
- workdir: /root
command: nvidia-smi
```
Finally, let's polish up by giving our **Run** a name and description. Here's
the completed `quickstart.yaml`:
```yaml theme={null}
name: Quickstart
description: Run "nvidia-smi"
resources:
cluster: vessl-oci-sanjose
preset: gpu-a10-small
image: quay.io/vessl-ai/torch:2.3.1-cuda12.1
run:
- workdir: /root
command: nvidia-smi
```
## Running the run
Now that we have a completed YAML, we can run the workload with `vessl run`.
`vessl run create -f quickstart.yaml`
* Launch a GPU-accelerated workload
* Set up a runtime for your model
* Run a simple command: `nvidia-smi`
## Installation and setup
After creating a free account on [VESSL](https://app.vessl.ai), install our Python package and get an API authentication. Set your primary **Organization** and **Project** for your account and let's get going.
```bash theme={null}
pip install --upgrade vessl
vessl configure
```
If you encounter the error `ModuleNotFoundError: No module named 'packaging'`,
please run the command `pip install packaging`.
## Writing the YAML file
Launching a workload on VESSL begins with writing a YAML file. Our quickstart YAML is in four parts:
* Compute resource -- typically in terms of GPUs -- this is defined under `resources`
* Runtime environment that points to a Docker Image -- this is defined under `image`
* Run commands executed inside the workload as defined under `run`
Let's start by creating `quickstart.yaml` and define the key-value pairs one by one.
`resources` defines the hardware specs you will use for your run. Here's an
example that uses our managed cloud to launch an A10 instance. You can see
the full list of compute options and their string values for `preset` under
**Resources**. Later, you will be able to add and launch workloads on your
private cloud or on-premises clusters simply by changing the value for
`cluster`.
```yaml theme={null}
resources:
cluster: vessl-oci-sanjose
preset: gpu-a10-small
```
VESSL uses Docker images to define a runtime. We provide a set of base
images as a starting point but you can also bring your own custom Docker
images by referencing hosted images on **Docker Hub** or **Red Hat Quay**. You
can find the full list of images and the dependencies for the latest build
[here](https://quay.io/repository/vessl-ai/kernels?tab=tags\&tag=py39-202310120824).
Here, we'll use the latest go-to PyTorch container from **NVIDIA NGC**.
```yaml theme={null}
resources:
cluster: vessl-oci-sanjose
preset: gpu-a10-small
image: quay.io/vessl-ai/torch:2.3.1-cuda12.1
```
Now that we defined the specifications of the compute resource and the
runtime environment for our workload, let's run `nvidia-smi`. We can do this
by defining a pair of `workdir` and `command` under `run`.
```yaml theme={null}
resources:
cluster: vessl-oci-sanjose
preset: gpu-a10-small
image: quay.io/vessl-ai/torch:2.3.1-cuda12.1
run:
- workdir: /root
command: nvidia-smi
```
Finally, let's polish up by giving our **Run** a name and description. Here's
the completed `quickstart.yaml`:
```yaml theme={null}
name: Quickstart
description: Run "nvidia-smi"
resources:
cluster: vessl-oci-sanjose
preset: gpu-a10-small
image: quay.io/vessl-ai/torch:2.3.1-cuda12.1
run:
- workdir: /root
command: nvidia-smi
```
## Running the run
Now that we have a completed YAML, we can run the workload with `vessl run`.
`vessl run create -f quickstart.yaml`
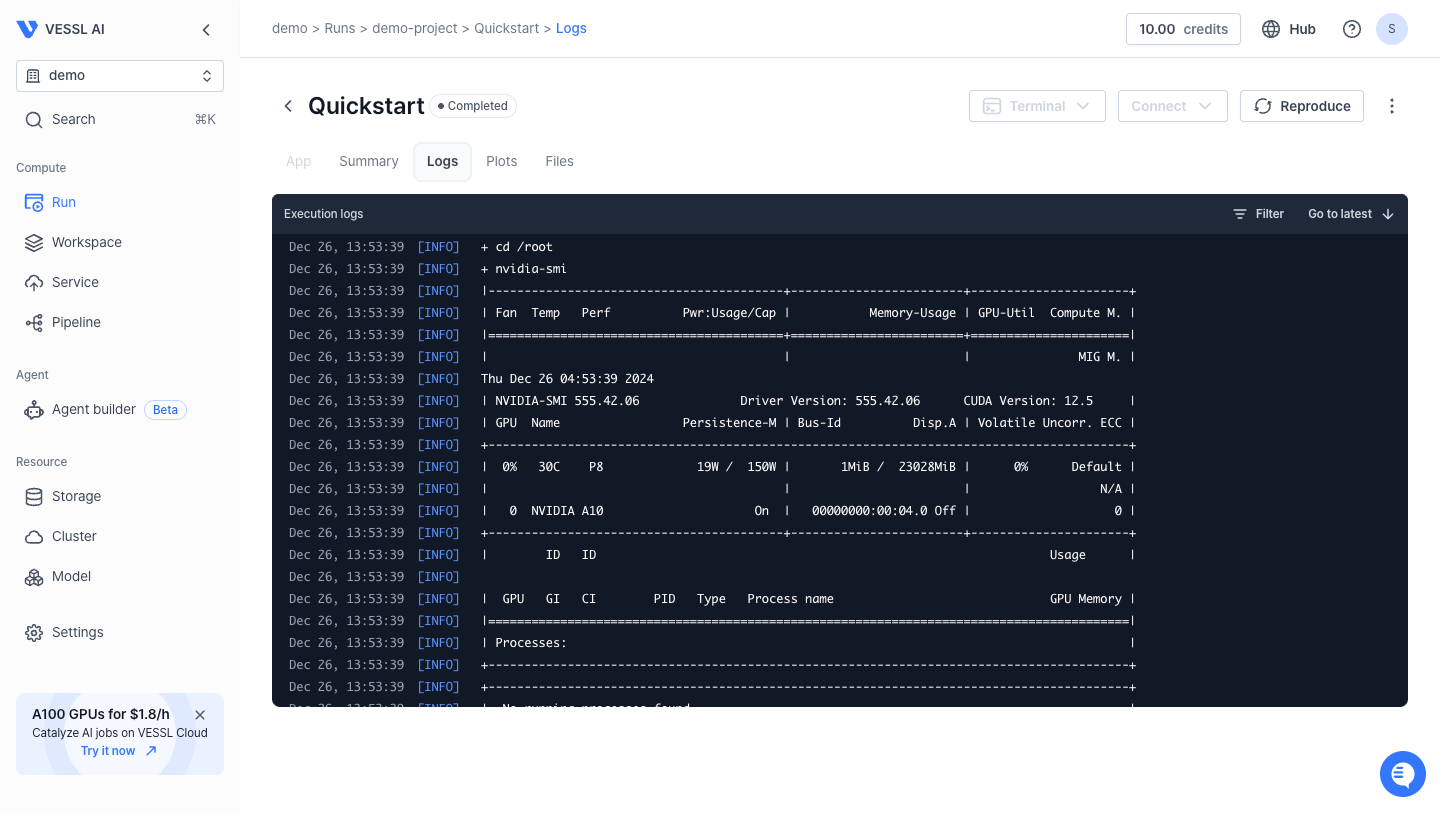
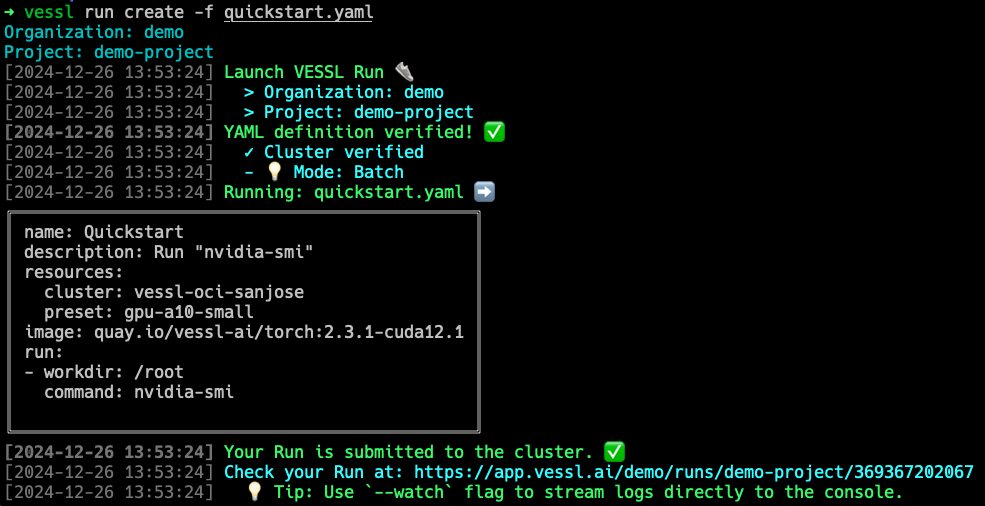 Running the command will verify your YAML and show you the current status of the run. Click the output link in your terminal to see full details and a realtime logs of the **Run** on the web, including the result of the run command.
 ## Behind the scenes
When you `vessl run`, VESSL performs the following as defined in `quickstart.yaml`:
1. Launch an empty Python container on the cloud with 1 NVIDIA A10 GPU.
2. Configure runtime with CUDA compute-capable PyTorch 22.09.
3. Execute `nvidia-smi` and print the result.
## Using our web interface
You can repeat the same process on the web. Head over to your **Organization**, select a project, and create a **New run**.
## Behind the scenes
When you `vessl run`, VESSL performs the following as defined in `quickstart.yaml`:
1. Launch an empty Python container on the cloud with 1 NVIDIA A10 GPU.
2. Configure runtime with CUDA compute-capable PyTorch 22.09.
3. Execute `nvidia-smi` and print the result.
## Using our web interface
You can repeat the same process on the web. Head over to your **Organization**, select a project, and create a **New run**.
## What's next?
Now that you've run a barebone workload, continue with our guide to launch a Jupyter server and host a web app.
Launch a Jupyter Notebook server with an SSH connection
Launch an interactive web application for image generation
Fine-tune Phi-4 with counselling datasets
Serve & deploy vLLM-accelerated Phi-4-mini-reasoning