> ## Documentation Index
> Fetch the complete documentation index at: https://docs.vessl.ai/llms.txt
> Use this file to discover all available pages before exploring further.

# Image generation playground

> Launch an interactive web app for image generation

This example deploys a simple web app for image generation. You will learn how you can set up an interactive workload for inference -- mounting models from Hugging Face and opening up a port for user inputs. For a more in-depth guide, refer to our [blog post](https://blog.vessl.ai/en/posts/thin-plate-spline-motion-model-for-image-animation).

<CardGroup cols={2}>
  <Card icon="sparkles" title="Try it on VESSL Hub" href="https://app.vessl.ai/hub/qwen-image">
    Try out the Quickstart example with a single click on VESSL Hub.
  </Card>

  <Card icon="github" title="See the final code" href="https://github.com/vessl-ai/examples/tree/main/runs/qwen-image">
    See the completed YAML file and final code for this example.
  </Card>
</CardGroup>

<Note>
  Note that if you want to save your credits, remember to **Terminate** to stop
  and end the runs.
</Note>

## What you will do

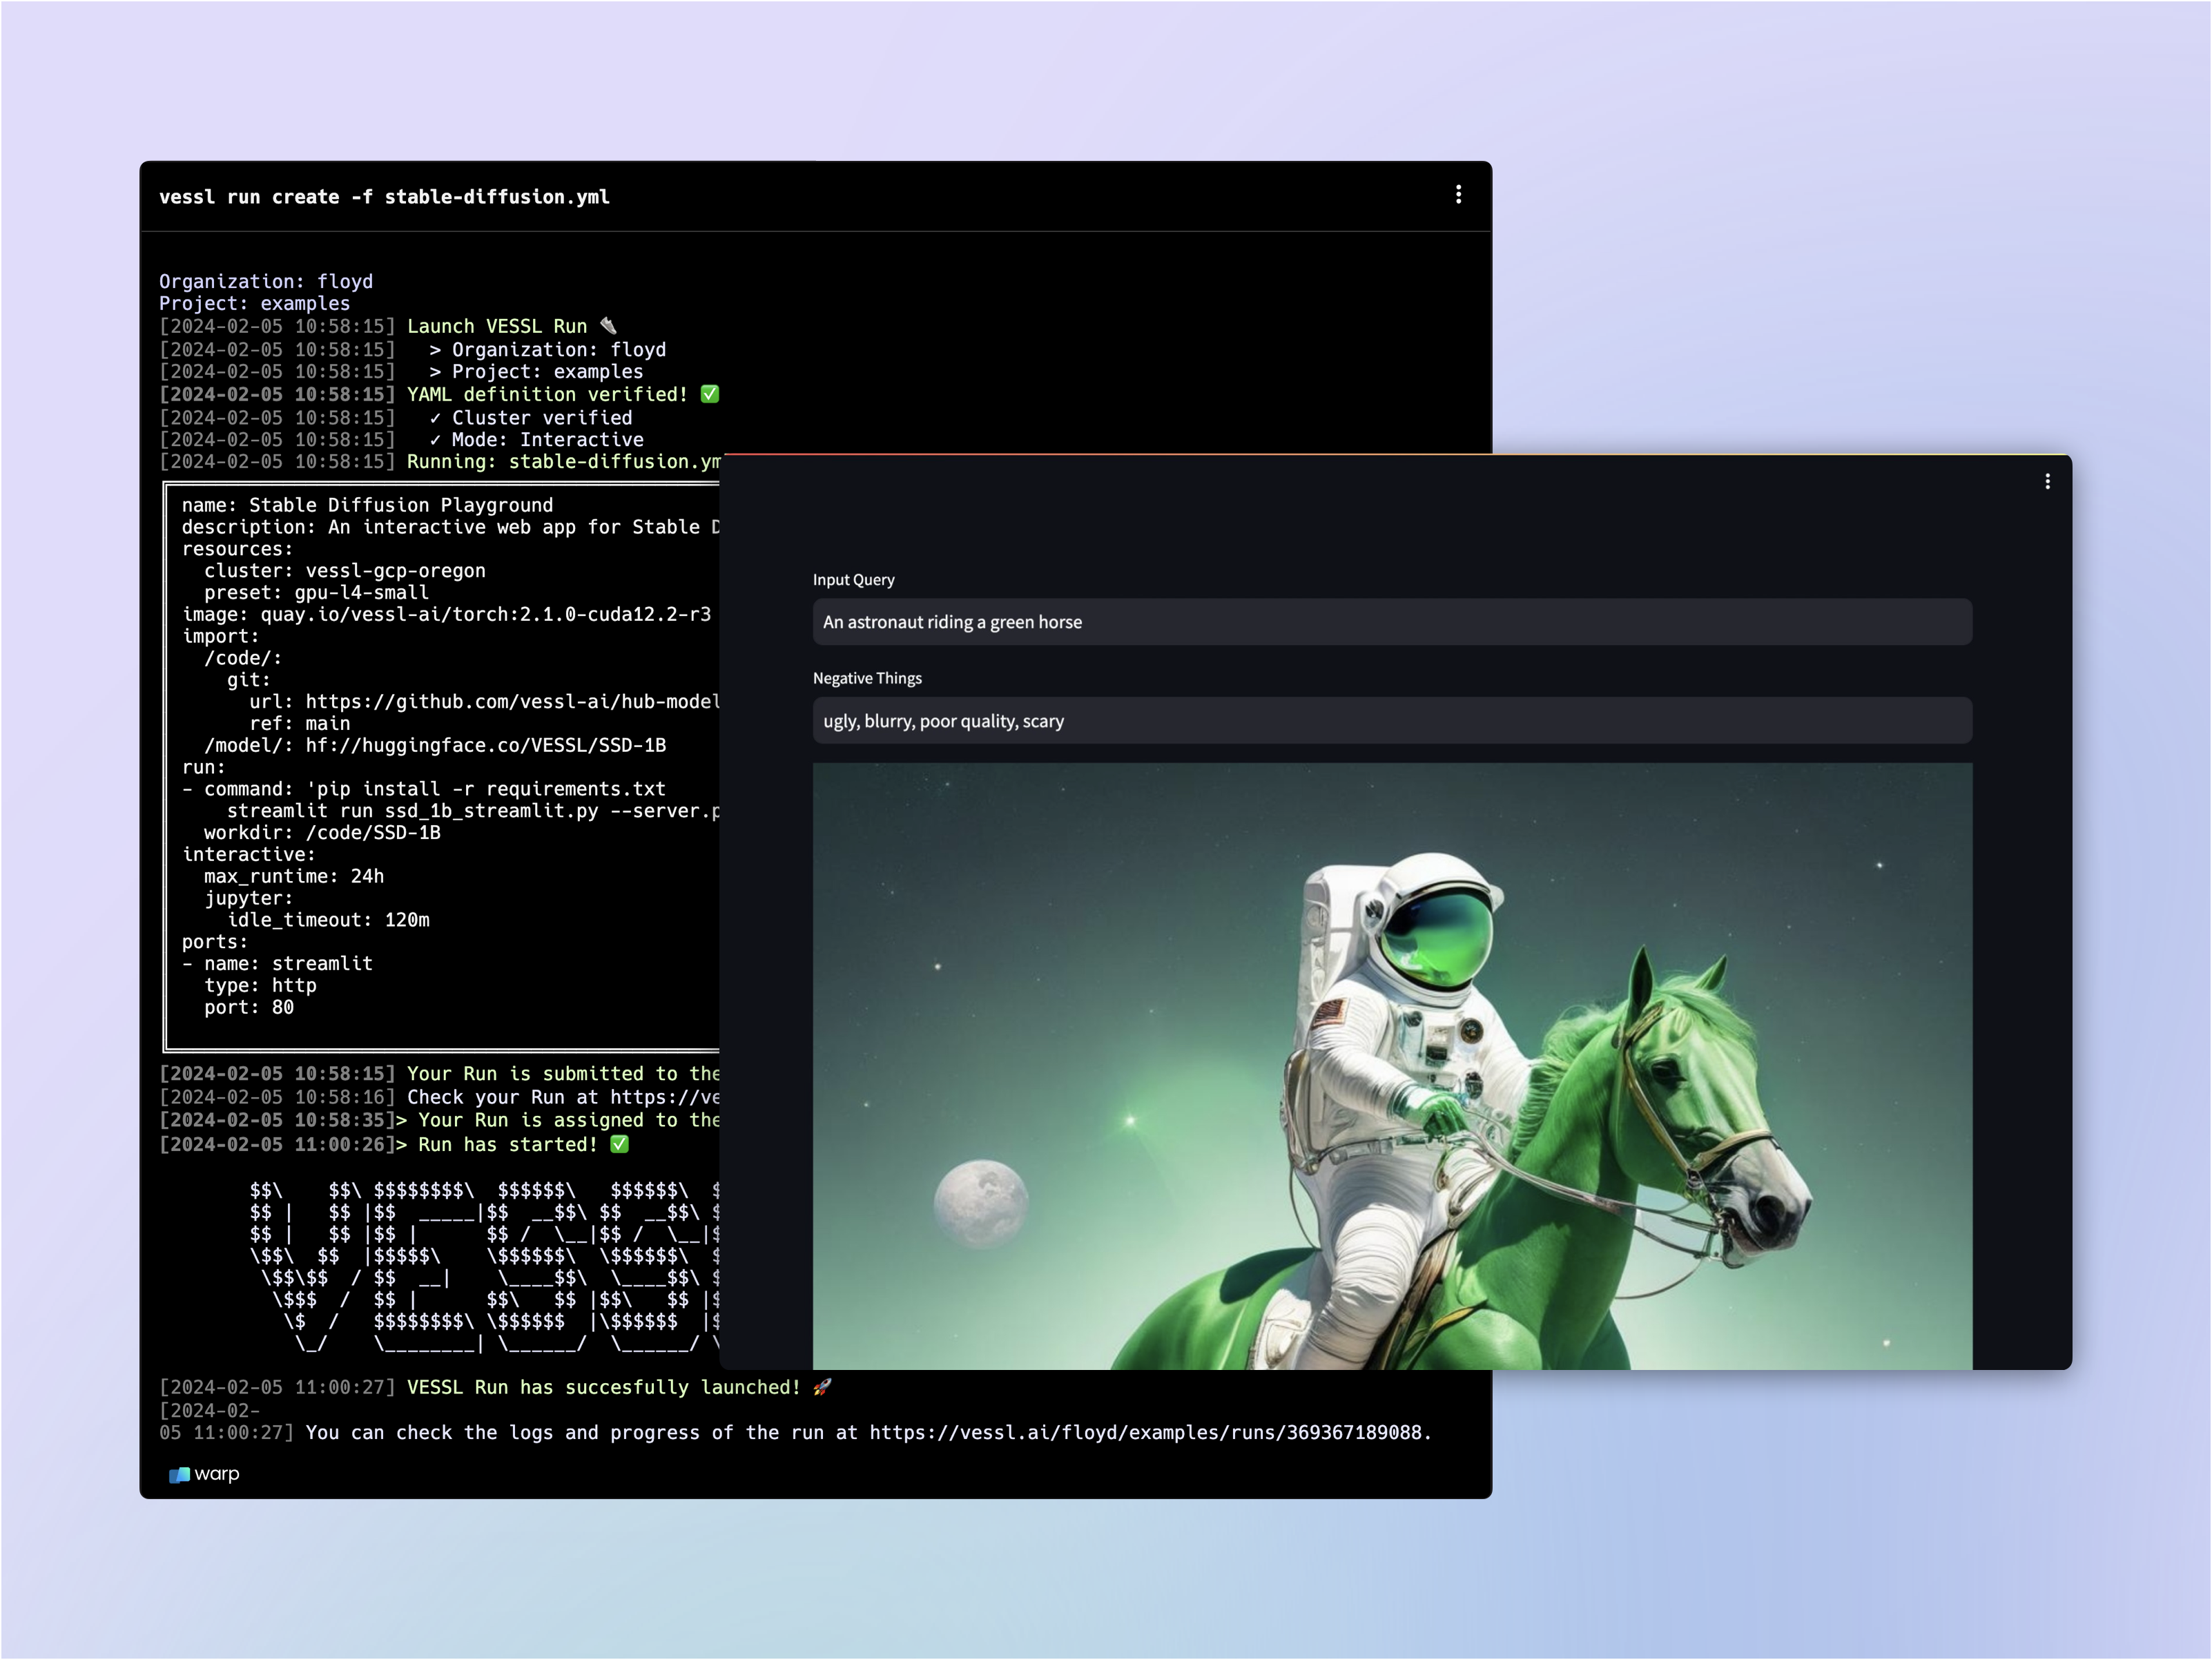
<img style={{ borderRadius: '0.5rem' }} src="https://mintcdn.com/vesslai/q8PNhBb-7_q5awBv/images/get-started/image-generation-title.png?fit=max&auto=format&n=q8PNhBb-7_q5awBv&q=85&s=dc73e266ba9259741a9132ec2e744405" width="3204" height="2404" data-path="images/get-started/image-generation-title.png" />

* Host a GPU-accelerated web app built with [Gradio](https://www.gradio.app/)
* Mount model checkpoints from [Hugging Face](https://huggingface.co/)
* Open up a port to an interactive workload for inference

## Writing the YAML file

Let's fill in the `image-generation.yaml` file.
<Steps titleSize="h3">
  <Step title="Spin up an interactive workload">
    We already learned how you can launch an interactive workload in our [previous](/get-started/gpu-notebook) guide. Let's copy & paste the YAML we wrote for `notebook.yaml`.

    ```yaml theme={null}
    name: Image Generation Playground
    description: An interactive web app for image generation
    resources:
      cluster: vessl-oci-sanjose
      preset: gpu-a10-small
    image: quay.io/vessl-ai/torch:2.3.1-cuda12.1-r5
    interactive:
      jupyter:
        idle_timeout: 120m
      max_runtime: 24h
    ```
  </Step>

  <Step title="Import code and model">
    Let's mount a [GitHub repo](https://github.com/vessl-ai/examples/tree/main/runs/qwen-image) and import a model checkpoint from Hugging Face. We already learned how you can mount a codebase from our [Quickstart](/guides/get-started/quickstart) guide.

    VESSL comes with a native integration with Hugging Face so you can import models and datasets simply by referencing the link to the Hugging Face repository. Under `import`, let's create a working directory `/model/` and import the [model](https://huggingface.co/Qwen/Qwen-Image).

    ```yaml theme={null}
    name: Image Generation Playground
    description: An interactive web app for image generation
    resources:
      cluster: vessl-oci-sanjose
      preset: gpu-a10-small
    image: quay.io/vessl-ai/torch:2.3.1-cuda12.1-r5
    	import:
    		/code/:
    			git:
    				url: https://github.com/vessl-ai/examples
    				ref: main
    		/model/: hf://huggingface.co/Qwen/Qwen-Image
    interactive:
      jupyter:
        idle_timeout: 120m
      max_runtime: 24h
    ```
  </Step>

  <Step title="Open up a port for inference">
    The `ports` key expose the workload ports where VESSL listens for HTTP requests. This means you will be able to interact with the remote workload -- sending input query and receiving an generated image through port `7860` in this case.

    ```yaml theme={null}
    name: Image Generation Playground
    description: An interactive web app for image generation
    resources:
      cluster: vessl-oci-sanjose
      preset: gpu-a10-small
    image: quay.io/vessl-ai/torch:2.3.1-cuda12.1-r5
    	import:
    		/code/:
    			git:
    				url: https://github.com/vessl-ai/examples
    				ref: main
    		/model/: hf://huggingface.co/Qwen/Qwen-Image
    interactive:
      jupyter:
        idle_timeout: 120m
      max_runtime: 24h
    ports:
      - name: gradio
        type: http
        port: 7860
    ```
  </Step>

  <Step title="Write the run commands">
    Let's install additional Python dependencies and finally run our python file [`app.py`](https://github.com/vessl-ai/examples/blob/main/runs/qwen-image/app.py).

    ```yaml theme={null}
    name: Image Generation Playground
    description: An interactive web app for image generation
    resources:
      cluster: vessl-oci-sanjose
      preset: gpu-a10-small
    image: quay.io/vessl-ai/torch:2.3.1-cuda12.1-r5
    	import:
    		/code/:
    			git:
    				url: https://github.com/vessl-ai/examples
    				ref: main
    		/model/: hf://huggingface.co/Qwen/Qwen-Image
    run:
      - command: |-
          pip install --upgrade accelerate gradio protobuf sentencepiece torch torchvision transformers git+https://github.com/huggingface/diffusers
          python app.py
        workdir: /code/runs/qwen-image
    interactive:
      max_runtime: 24h
      jupyter:
        idle_timeout: 120m
    ports:
      - name: gradio
        type: http
        port: 7860
    ```
  </Step>
</Steps>

## Running the app

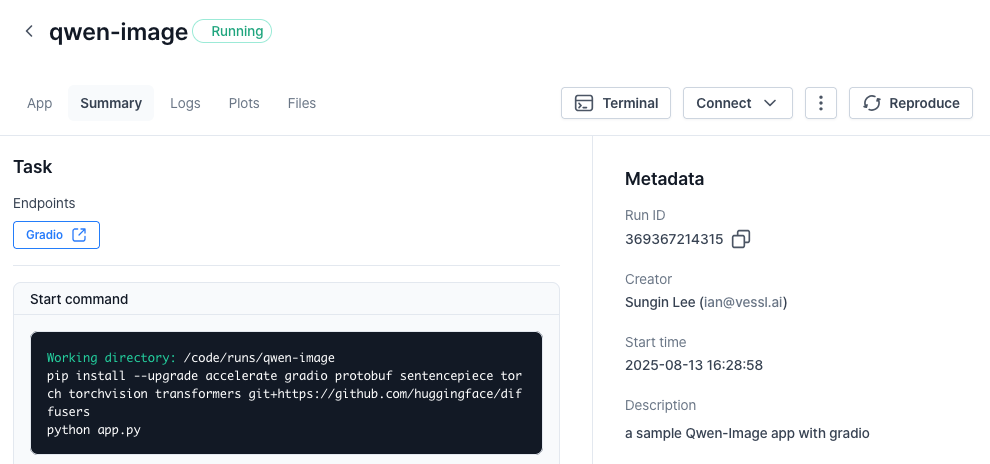
Once again, running the workload will guide you to the workload **Summary** page.

```
vessl run create -f image-generation.yaml
```

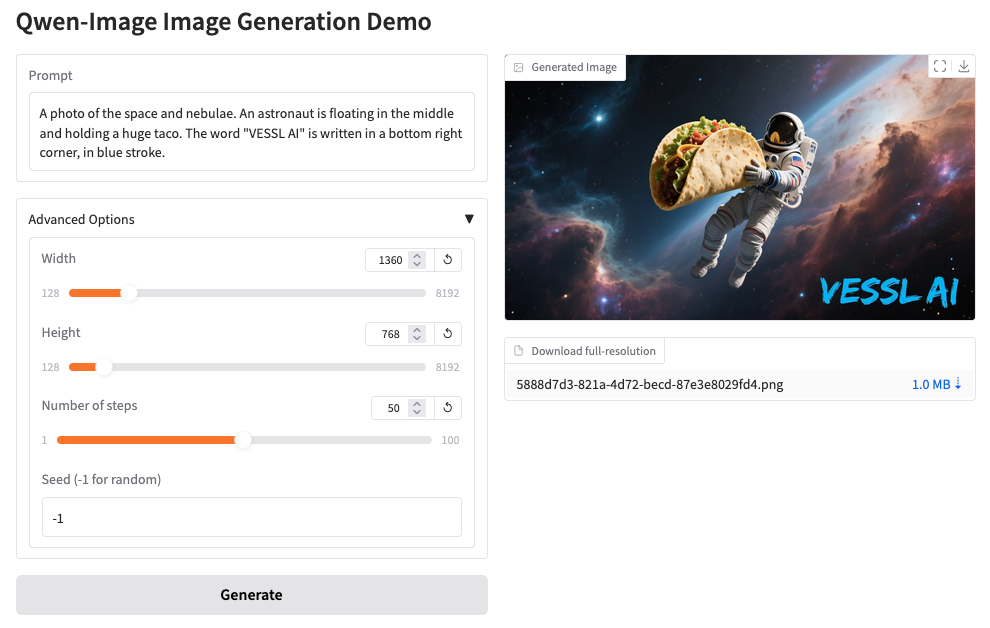
Under **Endpoints**, click the `gradio` link to launch the app.

<img style={{ borderRadius: '0.5rem' }} src="https://mintcdn.com/vesslai/q8PNhBb-7_q5awBv/images/get-started/image-generation-summary.png?fit=max&auto=format&n=q8PNhBb-7_q5awBv&q=85&s=e2596f72786cd0c4e1f594e71ca6c5ae" width="990" height="464" data-path="images/get-started/image-generation-summary.png" />

<img style={{ borderRadius: '0.5rem' }} src="https://mintcdn.com/vesslai/q8PNhBb-7_q5awBv/images/get-started/image-generation-gradio.png?fit=max&auto=format&n=q8PNhBb-7_q5awBv&q=85&s=7d51b4fdad5a5b34eecbaa761c88f04d" width="990" height="628" data-path="images/get-started/image-generation-gradio.png" />

## Using our web interface

You can repeat the same process on the web. Head over to your **[Organization](https://app.vessl.ai)**, select a project, and create a **New run**.

<div style={{ position: 'relative', paddingBottom: 'calc(66.6667% + 41px)', height: '0px' }}>
  <iframe src="https://demo.arcade.software/AKnKQqWqGrNBT7HA66lJ?embed" frameBorder="0" loading="lazy" webkitAllowFullScreen="" mozAllowFullScreen="" title="Dashboards" style={{ position: 'absolute', top: '0px', left: '0px', width: '100%', height: '100%', colorScheme: 'light' }} />
</div>

## What's next?

See how VESSL takes care of the infrastructural challenges of fine-tuning a large language model with a custom dataset.

<CardGroup cols={3}>
  <Card title="Phi-4 Fine-tuning" icon="wrench" href="phi-4-finetuning">
    Fine-tune Phi-4 with counselling datasets
  </Card>

  <Card title="Phi-4-mini-reasoning deployment" icon="server" href="phi-4-deployment">
    Serve & deploy vLLM-accelerated Phi-4-mini-reasoning
  </Card>

  <Card icon="bolt-lightning" title="Enable Serverless Mode" href="serverless-deployment">
    Deploy with VESSL Service Serverless mode
  </Card>
</CardGroup>